Articles,
DIY Advice
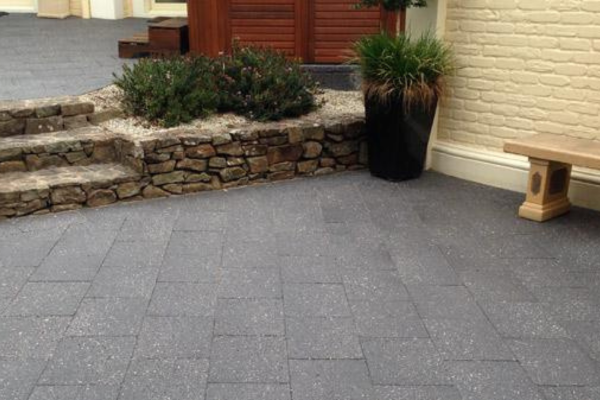
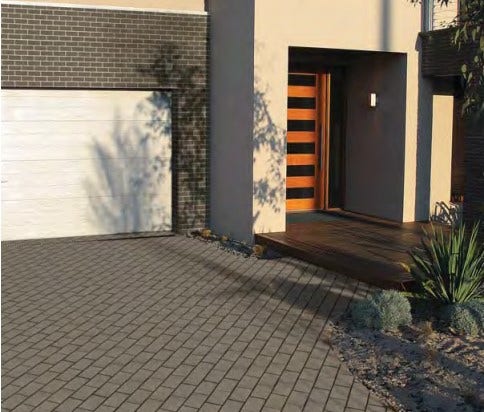
How To Lay Pavers
23.03.23
Suggested Tools Checklist:
- Protective gloves
- Rubber mallet
- Garden rake
- String line
- Spirit level (3m long)
- Tape measure
- Two screed rails
- Ear/eye protection
- Ball of string
- Yard broom
- Road Base
- Spade
- Barrow
- Hammer
- Paver cutting equipment
- Concrete blend and cement
- Bedding Sand (washed river sand)
- 'Interlock' jointing sand
- Rubber based vibrating compactor
- Screeding board (approx 25mm x 100mm x 2m long
PREPARATION AND PLANNING
Calculate the exact dimensions of the area to be paved so that you know how much paving to order. Depending on the size of the job add 5-10% for cuts and breakages.
PREPARING THE SITE
Select the desired nished surface level. Drive 4 stakes into the ground on the extremities of the area to be paved and run string lines between them at the desired nished surface level. Ensure you allow 'fall' so water runs o the paving. Excavate the area to be paved to allow for the base layer of 100mm compacted road base plus 40mm of washed bedding sand plus the thickness of the paver. Spread the road base to an even thickness and compact using a mechanical plate compactor.
ADD THE BEDDING SAND
Spread the sand over the area with a rake to a depth of 40mm. Place the screeding rails in position ensuring the top of the rails are at the correct level. Drag the screeding board in a sawing motion from side to side across the rails to create a rm, level laying surface. Remove the rails and ll the ruts left by the rails with sand. Move the rails to the next section. LAYING THE PAVERS Firstly, set string lines at right angles to establish paving lines. These will help keep the joints straight. Start laying along the longest straight edge of the designated area laying whole pavers to avoid chipping in use. Don't walk on the prepared sand, instead walk on the pavers already laid. Make sure you leave a joint between the pavers to allow for expansion and contraction. This will help reduce chipping. When all the whole pavers are laid, cut and position part-pavers if required.
Edge restraints are essential to prevent movement of the pavers and sand. The restraints should be approximately 10mm below the uncompacted pavers to allow for a nal compaction. Edge restraints can be made of treated timber, concrete or aluminium for an accurate edge.
If laying on a driveway make sure pavers are suitable. If the driveway has a concrete slab as a base most will be suitable. Do not use sand as a bed over concrete slabs as this creates drainage issues, and can lead to staining. Use a recommended adhesive or a bed of wet mix sand and cement if adhering to a concrete slab.
COMPACTING AND JOINTING
Now that the pavers and edge restraints are in place, sweep Amber 'Interlock' paving sand over the nished, dry paving ensuring all joints are full. For smaller jobs pavers can be compacted by using a rubber mallet and a piece of timber. For larger jobs, use a rubber based vibrating compactor. Paving should compact 10mm. Add more 'Interlock' paving sand, sweep o excess and repeat.
SEALING
We recommend all pavers be sealed especially around salt water pools. This helps protect your pavers against staining and makes cleaning easier. Penetrating sealers are highly recommended.

Amber recommends products be installed by a professional tradesperson. These instructions are to be used only as guides. Amber does not accept responsibility for any incorrect installation results or improper preparation. For individual advice speak to your local Amber store.