Articles,
DIY Advice
How To Install Travertine Pavers
08.03.23
If this is your first time installing travertine pavers, there's no need to worry - it's not as intimidating as you think! With the help of this guide, the right tools, and a little patience, you'll have your beautiful travertine pavers installed in no time.
First, you must have the right tools and materials for the job. Here are the tools you'll need:
- Rubber mallet
- Shovel
- Rake
- Knee pads
- Angle grinder
- Bucket
- Long straight edge
- Straight edge String line
- Spirit level
- Tape measure
- Trowel
- Wheelbarrow
- Sponge
Once you get your hands on those, you'll need these materials:
- Amber travertine pavers
- Off-white cement mix
- Diamond blade for the angle grinder
- Hammer and nails
- Sand or blue metal dust
- Grout
- Timber pegs
What are Travertine pavers?
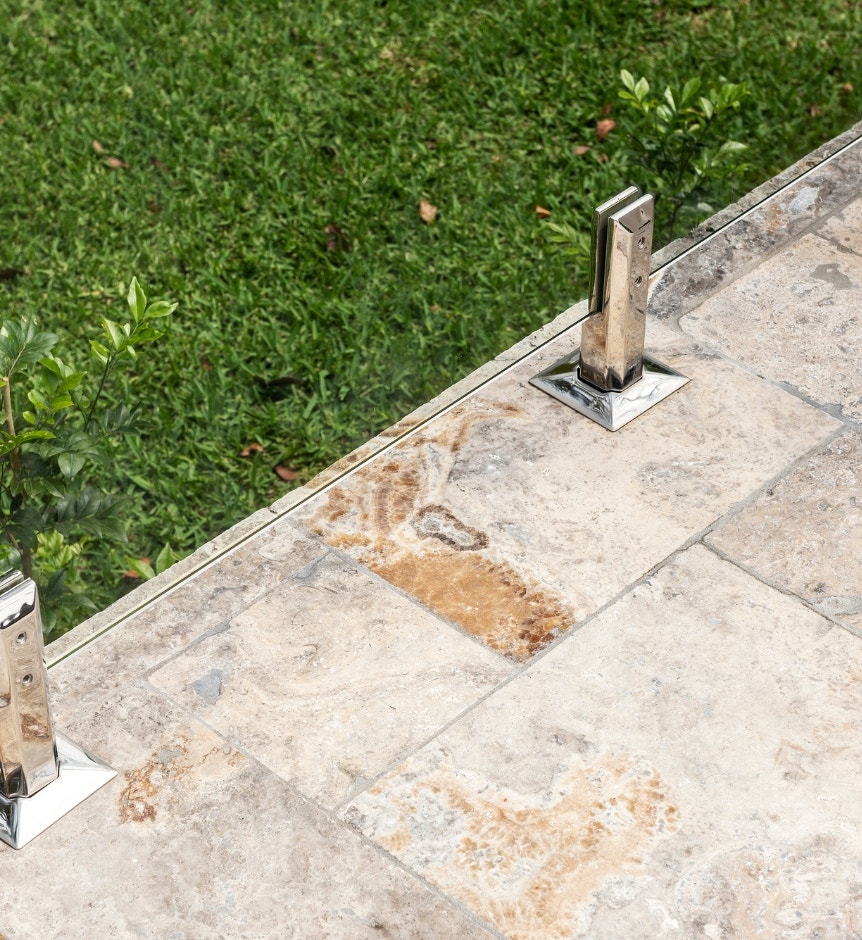
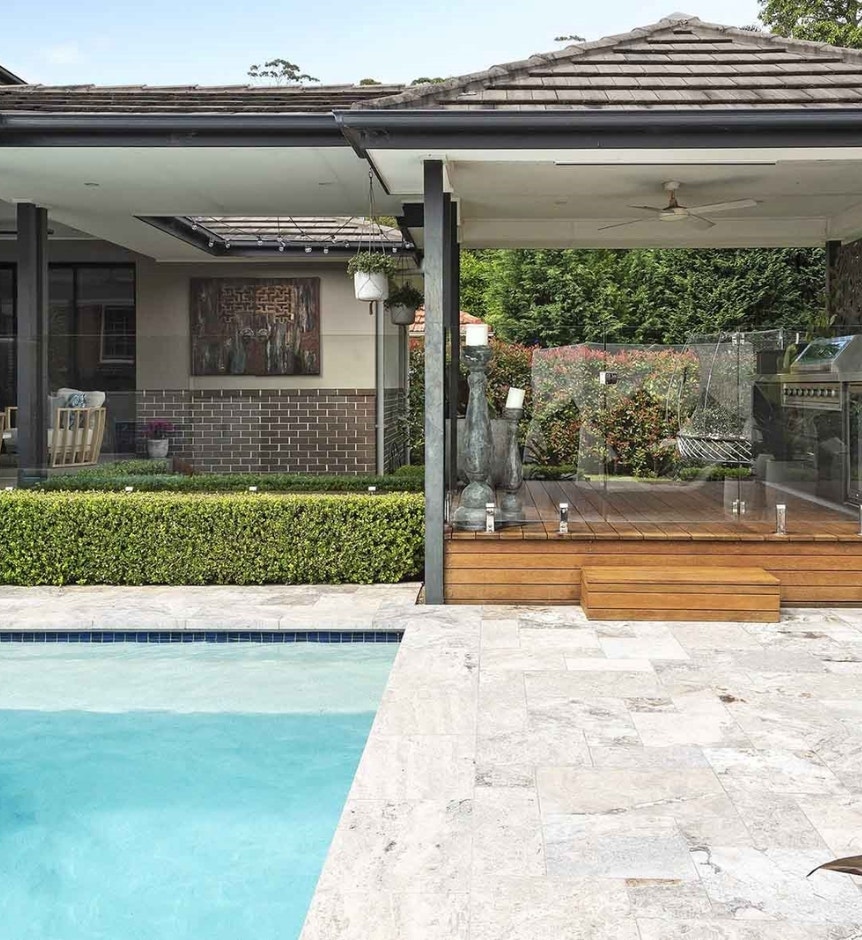
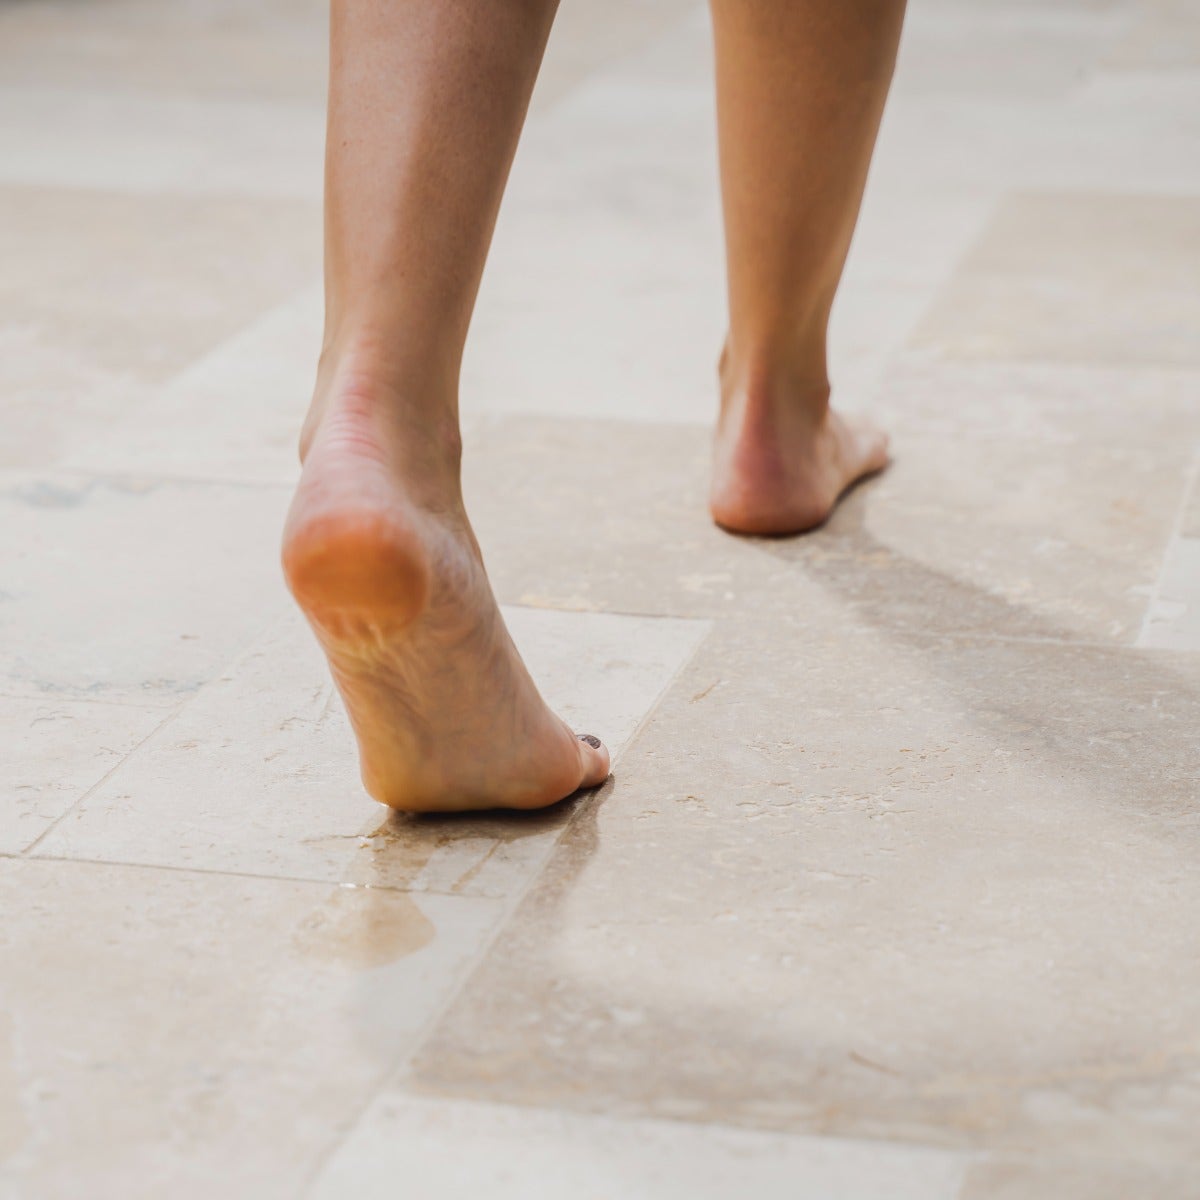
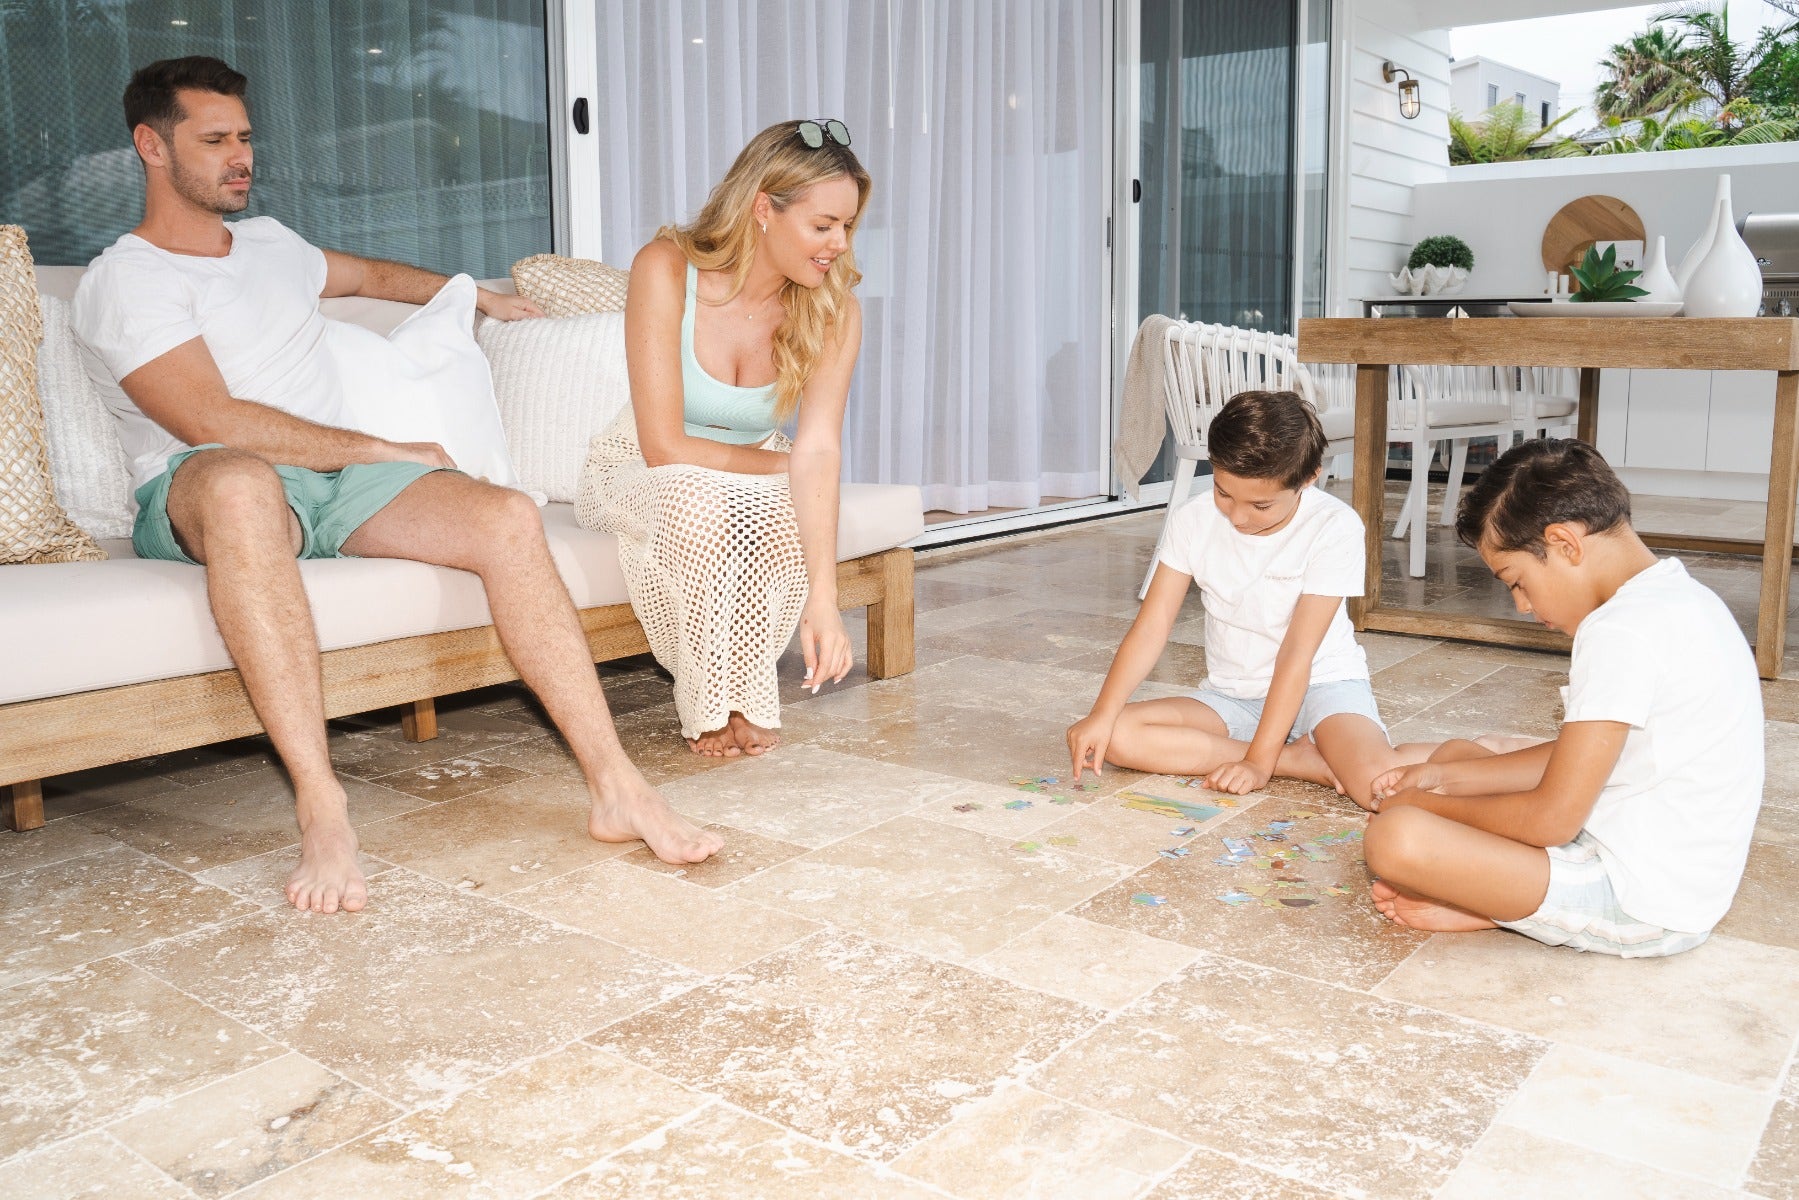
When you have all your tools and materials, the next step is to choose your travertine pavers. Made from durable limestone, they can withstand the elements, including those hot Australian summers. These pavers are also easy to walk on thanks to their naturally non-slip surface, making them a fantastic choice for patios, pathways, driveways, and pool decks.
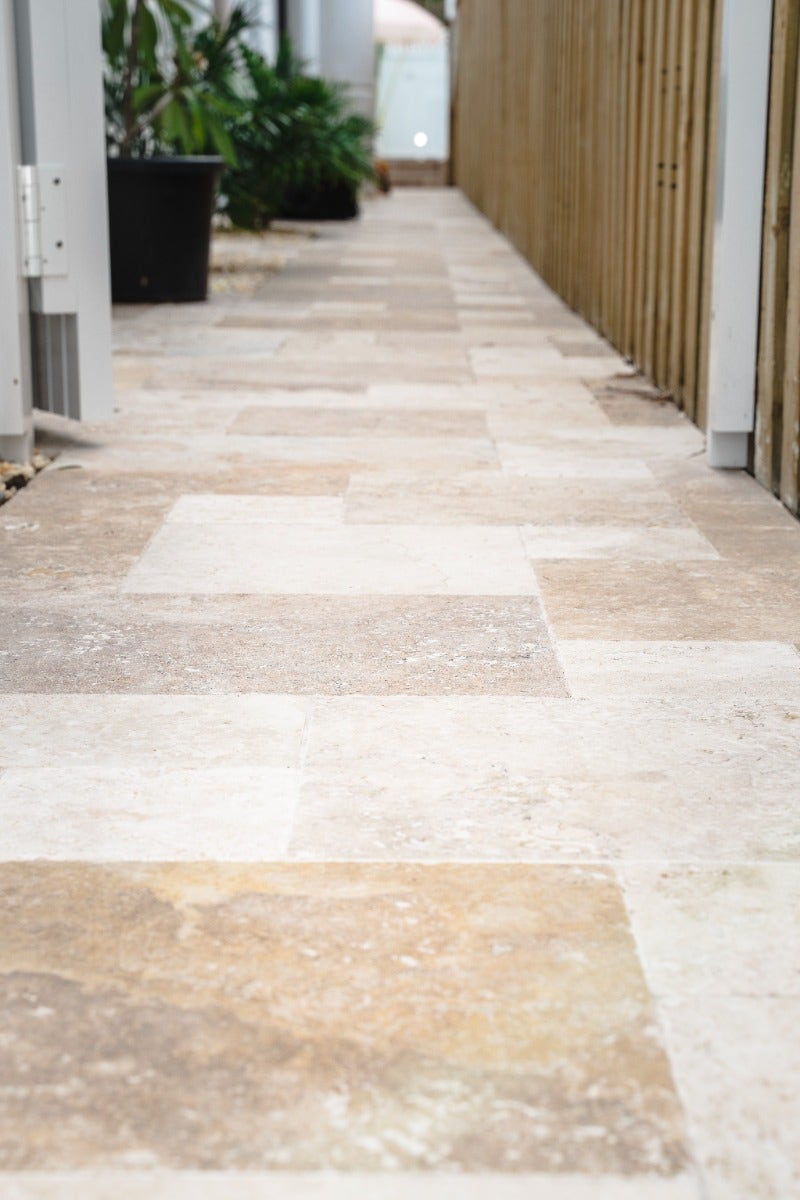
Travertine has unique pitted holes, troughs, and textures, plus a distinctive veined pattern. Their colour palette ranges from soft greys, tans, and browns to deep reds and golds.
You'll want to consider what paver size and shape are suitable for your project, as this makes a big difference to the overall look of your paved area.
What are the steps to install travertine pavers?
The following step-by-step guide will help you get the job done right! You can always refer back to these steps if you get stuck.
1. Prepare and Level the Soil
The first step is to ensure the soil is level where you'll be laying the pavers. Use a rake to remove large rocks and debris, then level the soil using the straight edge.
After it's level, compact the soil until it's flat with a plate compactor or tamper. Hiring a plate compactor is highly recommended. However, if you're on a budget, a little trick is to water down the soil and then use a large wooden board to compact it. Walk back and forth over the board until the soil is firm. This process takes longer than using a plate compactor and won't do quite as good a job, but it will work in a pinch.
2. Create a Base for the Pavers To Rest On
Now the question is, how to install travertine pavers outdoors correctly? The next step is to create a base for the pavers to provide support and help keep them level.
A quick side note, a common misconception is that laying down plastic sheeting on top of your base will stop weeds from growing between the pavers. This step is unnecessary and can cause problems with drainage and the pavers shifting in the future. Instead, poison all the grass and weeds under your base beforehand.
Use sand or blue metal dust to create a level base for the pavers. Then follow these key steps:
Spread the sand or blue metal dust evenly - at a depth of 80 millimetres if your pavers are for a walkway and 125 millimetres for a driveway.
Compact it down and make sure it's firm and level. Don't be afraid to add more sand or blue metal if necessary.
Once the base is level and firm, you'll need to use the string line to mark where you'll lay the pavers. Use timber pegs to mark the edges of the area, then stretch out the string line between them.
Ensuring your pavers look straight and level when laid makes a big difference to the overall look of your finished project.
3. Lay the Travertine Pavers
Next, pick your paver pattern. Some common patterns are brick bond, herringbone and 45 stretcher bond. The brick bond pattern is the way to go if you're after the quickest and easiest option.
Now for the fun part! Follow these steps on how to install travertine pavers.
- We recommend choosing an off-white colour cement. The colour of dark cement will seep through your travertine paver. Mix up your cement according to the instructions on the bag and spread it onto your base using a trowel. Spread the cement over a manageable area, enough to lay one or two pavers at a time. Aim for a 25-millimetre cement depth.
- Start at one corner and lay the pavers in your chosen pattern. Use cement to fill any holes on the underside of each paver before laying it. Place each paver firmly onto the cement and tap down with a rubber mallet or wooden block to help bond the pavers to the cement. Clean up any excess cement - this will help when you grout later.
- To ensure the pavers are level and straight, use the spirit level as you go along to check each paver.
- Space your pavers evenly with 3-5 millimetres spacing between each. This way, the grout can fit between the pavers when you get to that step.
- Once you've laid your first row of pavers, check back with your string line to make sure you're still laying them in a straight line.
- If you chose the brick bond pattern, your second row of pavers should begin with a half-paver. So cut one paver in half and start the second row with that half paver. Follow steps one through five until you've completely paved the area.
4. Cut the Pavers and Fill In the Joints
Once you've laid all the pavers, you may have pavers at the ends that need cutting. Wet down the pavers and use your diamond blade saw to cut them down to size. Remember to wear safety glasses and earplugs!
After all of the pavers are cut, use a brush to sweep away any loose debris before filling in the joints with grout. Choose a colour that will go well with your travertine pavers and mix it according to package directions. Scoop some grout onto your trowel and spread it over the joints, pressing it down firmly.
Once you've filled all the joints, use a damp sponge or rag to remove any excess grout. Wait 24 hours for the grout to dry before walking on your newly installed travertine pavers.
We recommend sealing your pavers with Amber seal when the pavers are dry and clean, at least 24 to 48 hours after installation. If you follow these steps carefully, you'll be a certified DIY hero with a beautiful paved area!
Travertine installation: Frequently Asked Questions (FAQ)
Do you have any other questions about how to install travertine pavers? Don't worry; Amber has the answer!
What Do You Put Under Travertine Pavers?
The best base consists of a layer of sand or blue metal dust, then a cement mix. Getting the base correct is an essential step in installing your travertine pavers. If you don't, you will run into issues down the line!
Does Travertine Need To Be Laid on Concrete?
Since travertine is a natural stone, it must be laid on a solid and level surface. If you lay travertine directly onto dirt, the pavers will shift over time and sink into the ground. However, you do not need to pour a concrete slab for your intended paving area.
Pavers must be laid on a compacted and level sand or blue metal dust base. Then you'll need to spread cement at a depth of about 25 millimetres over a manageable area, enough to lay one or two pavers at a time.
Is Travertine a Ceramic?
No, travertine is not ceramic. Travertine is a type of limestone formed in hot springs and on the floors of limestone caves. It's highly durable and great for outdoor use but requires care and maintenance to keep it looking great.
How Much Sand Do You Put Under Travertine Pavers?
The amount of base you put down will depend on the type of area you're paving. For walkways, 80 millimetres of the base will be sufficient. Aim for at least 125 millimetres of the base if paving a driveway.
Can Travertine Pavers Be Installed Over Concrete?
Yes, you can install travertine pavers over concrete if the surface is clean, level and in good condition. The concrete will act as the base. You will still need to use cement under the pavers.
Should ravertine Pavers Be Sealed?
Yes, your travertine pavers should be sealed to help protect them from staining and damage and make them easier to clean. Amber seal is an excellent choice for sealing travertine pavers.
Should You Use Polymeric Sand on Travertine?
You can use polymeric sand on travertine pavers to fill any holes or troughs on their surface, but it is not compulsory. If you use polymeric sand, brush the sand over the pavers with a broom. When all the sand has filled the intended areas, water over the sand to set it. Polymeric sand can sometimes stain travertine, so test a small area before applying it to your entire project!
Enjoy the look and feel of correctly installed Travertine!
Give yourself a pat on the back for taking the plunge and installing your travertine pavers! Now you can sit back and enjoy the look and feel of your correctly installed pavers.
At Amber, we are Australia's leading tile experts and have been since 1973. Visit one of our stores to get the highest quality travertine pavers. With proper installation and care, your travertine pavers will look great for years to come.