Articles,
DIY Advice
DIY Mosaic Wall Tile Installation - 7 Steps From Australia's Tile Experts - Amber
08.01.25
Keen to give your home a bit of wow factor with stunning mosaic wall tiles? These little beauties can completely transform a space, adding personality and flair.
But can you install mosaic wall tiles yourself? The answer is a resounding YES! With this handy guide from Amber, you'll be well on your way to achieving a professional-looking mosaic masterpiece all on your own.
This comprehensive guide will walk you through every step of how to install mosaic wall tiles, from gathering the right tools to grouting like a pro. So, let's get started and unleash your inner tiler!
A Complete Guide to Installing Mosaic Wall Tiles
Tools and Materials Needed
Before jumping into your mosaic tile project, make sure you have all the right tools and materials. Think of it as putting together your own tiler toolkit!
Here's a checklist of the tools you'll need:
- Tile cutter
- Tile nippers
- Notched trowel
- Grout float
- Sponge
- Bucket
- Level
- Pencil
- Safety goggles and gloves
Essential materials:
- Mosaic tiles
- Tile adhesive
- Grout
- Tile sealer if using natural stone mosaics
Using quality tools and materials makes the process easier and gives your project a professional look that lasts.
Step 1: Preparing the Wall
A clean and smooth wall surface is the cornerstone of a successful mosaic tile installation. Any imperfections, such as bumps, cracks, or unevenness, can compromise the adhesion of your tiles and affect the overall appearance of your project.
Tips for repairing and priming walls:
Repairing imperfections:
- Fill cracks and holes: Use a high-quality filler or patching compound to fill any cracks or holes in the wall.
- Sand smooth: Once the filler has dried, sand the repaired areas to create a smooth, even surface.
Cleaning the wall:
- Remove dirt and grime: Clean the wall thoroughly with a detergent and water solution to remove any dirt, grease, or residue.
- Allow to dry: Make sure the wall is completely dry before proceeding to the next step.
Priming the wall:
- Apply primer: Apply a quality tile primer to the wall according to the product's instructions. This will improve the adhesion of the tile adhesive and create a uniform surface for the tiles.
- Let it dry: Allow the primer to dry completely before starting the tiling process.
Step 2: Planning the Layout
Now that your wall is prepped and ready, it's time to start planning the layout of your mosaic tiles.
- Measure the wall: Accurately measure the height and width of the wall where you plan to install the mosaic tiles.
- Plan the design: Sketch out your desired mosaic design, considering the size and shape of the tiles. You can opt for a simple pattern or a complex, intricate design.
- Dry lay the tiles: Before applying adhesive, dry lay the tiles on the wall to visualise the final layout and make any necessary adjustments. This step will help you identify any cutting required and ensure a balanced design.
Now, the stage is set for a successful mosaic tile installation.
Step 3: Applying Adhesive
Alright, let’s get started with applying the adhesive!
When choosing a tile adhesive for your mosaic tiles, look for a high-quality, flexible adhesive specifically designed for the type of mosaic tiles you are using. Work in small sections so the adhesive doesn’t dry out before you place the tiles, allowing for precise placement and a strong bond.
Techniques for even application:
- Prepare the adhesive: Follow the manufacturer's instructions to mix the adhesive to the correct consistency.
- Apply the adhesive: Starting in the bottom corner or bottom middle of the wall, use a notched trowel to spread the adhesive evenly on the wall. The notches on the trowel help create grooves in the adhesive, ensuring strong and reliable bonding for the tiles.
- Comb the adhesive: Comb the adhesive with the notched side of the trowel to create a consistent thickness and pattern.
Step 4: Installing the Mosaic Tiles
Now comes the exciting part: placing your mosaic tiles! Wait until the adhesive is tacky but not fully dry—this usually takes a few minutes.
Take your time, and enjoy the process of creating your unique design.
Step-by-step instructions for placing tiles:
- Place the tile: Start by placing the first tile or tile sheet.
- Press the tile: Press the tile firmly into the adhesive.
- Maintain spacing: Use tile spacers to maintain consistent spacing between the tiles or tile sheets if applicable.
- Continue tiling: Continue applying adhesive and placing the tiles, one by one, following your planned layout.
- Pro Tip: For proper alignment, use a level to check the tiles frequently, especially on larger areas, and gently adjust any misaligned tiles before the adhesive sets.
Step 5: Cutting Mosaic Tiles
As you progress, you may encounter areas where you need to cut tiles to fit corners, edges, or around obstacles. Cutting tiles requires precision. You'll need tile cutters and tile nippers for the job.
To make straight cuts, use a tile cutter. Score the tile with the cutter's blade and then snap it along the score line. Irregular cuts require tile nippers to make smaller cuts and shape the tiles as needed.
Safety first! When cutting tiles, always wear safety glasses to protect your eyes and use a stable work surface to prevent accidents.
Cut away from your body, take your time, and make accurate cuts to avoid mistakes.
Step 6: Grouting the Tiles
When choosing grout for mosaic tiles, select a colour that complements the tiles and overall design.
Make sure to use a high-quality, water-resistant grout specifically designed for tile installations.
Detailed grouting process:
- Prepare the grout: Mix the grout according to the manufacturer's instructions, ensuring a smooth, workable consistency.
- Apply the grout: Use a grout float to apply the grout to the gaps between the tiles, pressing it firmly into the joints.
- Remove excess grout: Once the grout has set slightly, use a damp sponge to wipe away excess grout from the tile surface.
- Clean the tiles: Continue cleaning the tiles with the damp sponge, rinsing it frequently.
- Allow to dry: Let the grout dry completely before proceeding to the final step.
- Work in small sections to prevent the grout from drying too quickly.
Rinse your sponge frequently to remove excess grout effectively, and be patient, allowing the grout to dry fully before applying sealant.
Step 7: Sealing and Finishing
The final step in your installation is sealing the tiles. Choose a high-quality sealant that’s appropriate for your specific tile material, and be sure to apply it according to the manufacturer’s instructions.
Sealing protects your tiles from water damage, stains, and everyday wear and tear, ensuring their beauty for years to come.
Congratulations on completing your DIY mosaic tile project!
How to keep them looking their best:
- Regular cleaning: Clean your mosaic tiles regularly with a mild detergent and warm water. Avoid abrasive cleaners that can damage the tile surface.
- Avoid harsh chemicals: Avoid using harsh chemicals or acidic cleaners, as they can damage the grout and tiles.
- Dry thoroughly: After cleaning, dry the tiles completely to prevent water damage.
- Re-seal periodically: Re-seal your tiles every 1-2 years to maintain their protection.
- Professional cleaning: For stubborn stains or deep cleaning, consider hiring a professional tile cleaning service.
FAQs About How to Install Mosaic Wall Tiles
Are Mosaic Tiles Harder To Install?
Installing mosaic tiles can be slightly more intricate compared to larger tiles due to their small size and intricate designs. However, the installation process can be successfully accomplished with careful planning, proper tools, and attention to detail.
Do You Need Special Adhesive for Mosaic Tiles?
Yes, it is recommended to use a specialised adhesive designed for mosaic tiles. These adhesives are typically more flexible and provide better adherence to the smaller tiles and grout lines.
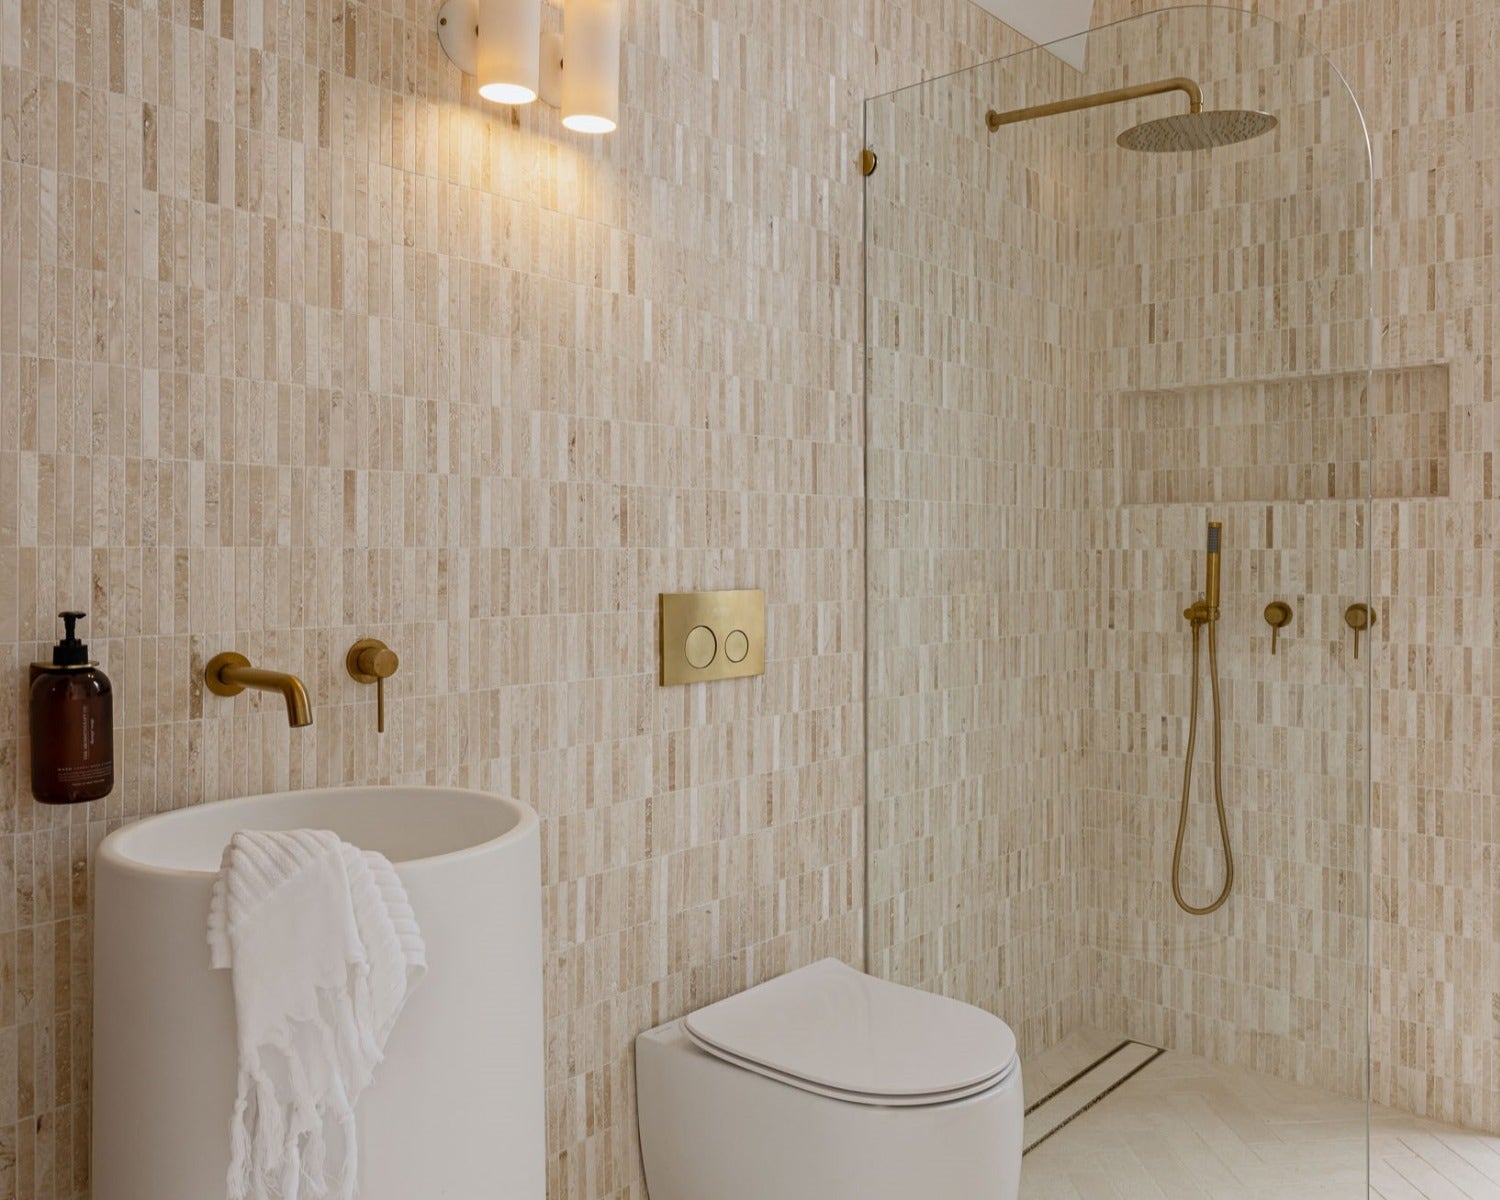
How Do You Install Mosaic Tiles on a Bathroom Wall?
To install mosaic tiles on a bathroom wall, follow these steps:
- Prepare the wall surface by ensuring it is clean, dry, and free from any debris.
- Plan the layout and mark the starting point for your mosaic tile installation.
- Apply the specialised adhesive to the wall using a notched trowel.
- Press the mosaic tiles firmly into the adhesive, ensuring they are level and aligned.
- Use tile spacers to maintain consistent grout lines.
- Allow the adhesive to dry completely, following the manufacturer's instructions.
- Apply grout using a grout float, ensuring all gaps between the tiles are filled.
- Wipe off excess grout with a damp sponge and let it cure according to the grout manufacturer's instructions.
- Finally, clean the tiles and remove any haze from the grout using a grout haze remover or vinegar solution.
Can Mosaic Tiles Be Installed Over Existing Tiles?
Yes, mosaic tiles can be installed over existing tiles, but surface preparation is key.
Make sure the existing tiles are clean, secure, and free of damage. Using a bonding primer or adhesive designed for tile-over-tile installations ensures a strong bond. Consult a professional or follow manufacturer guidelines for best results.
Transform Your Space With Mosaic Tiles From Amber
Now that you know how to install mosaic wall tiles, what are you waiting for?
Create intricate patterns, bold geometric designs, or subtle accents—it’s all up to you!
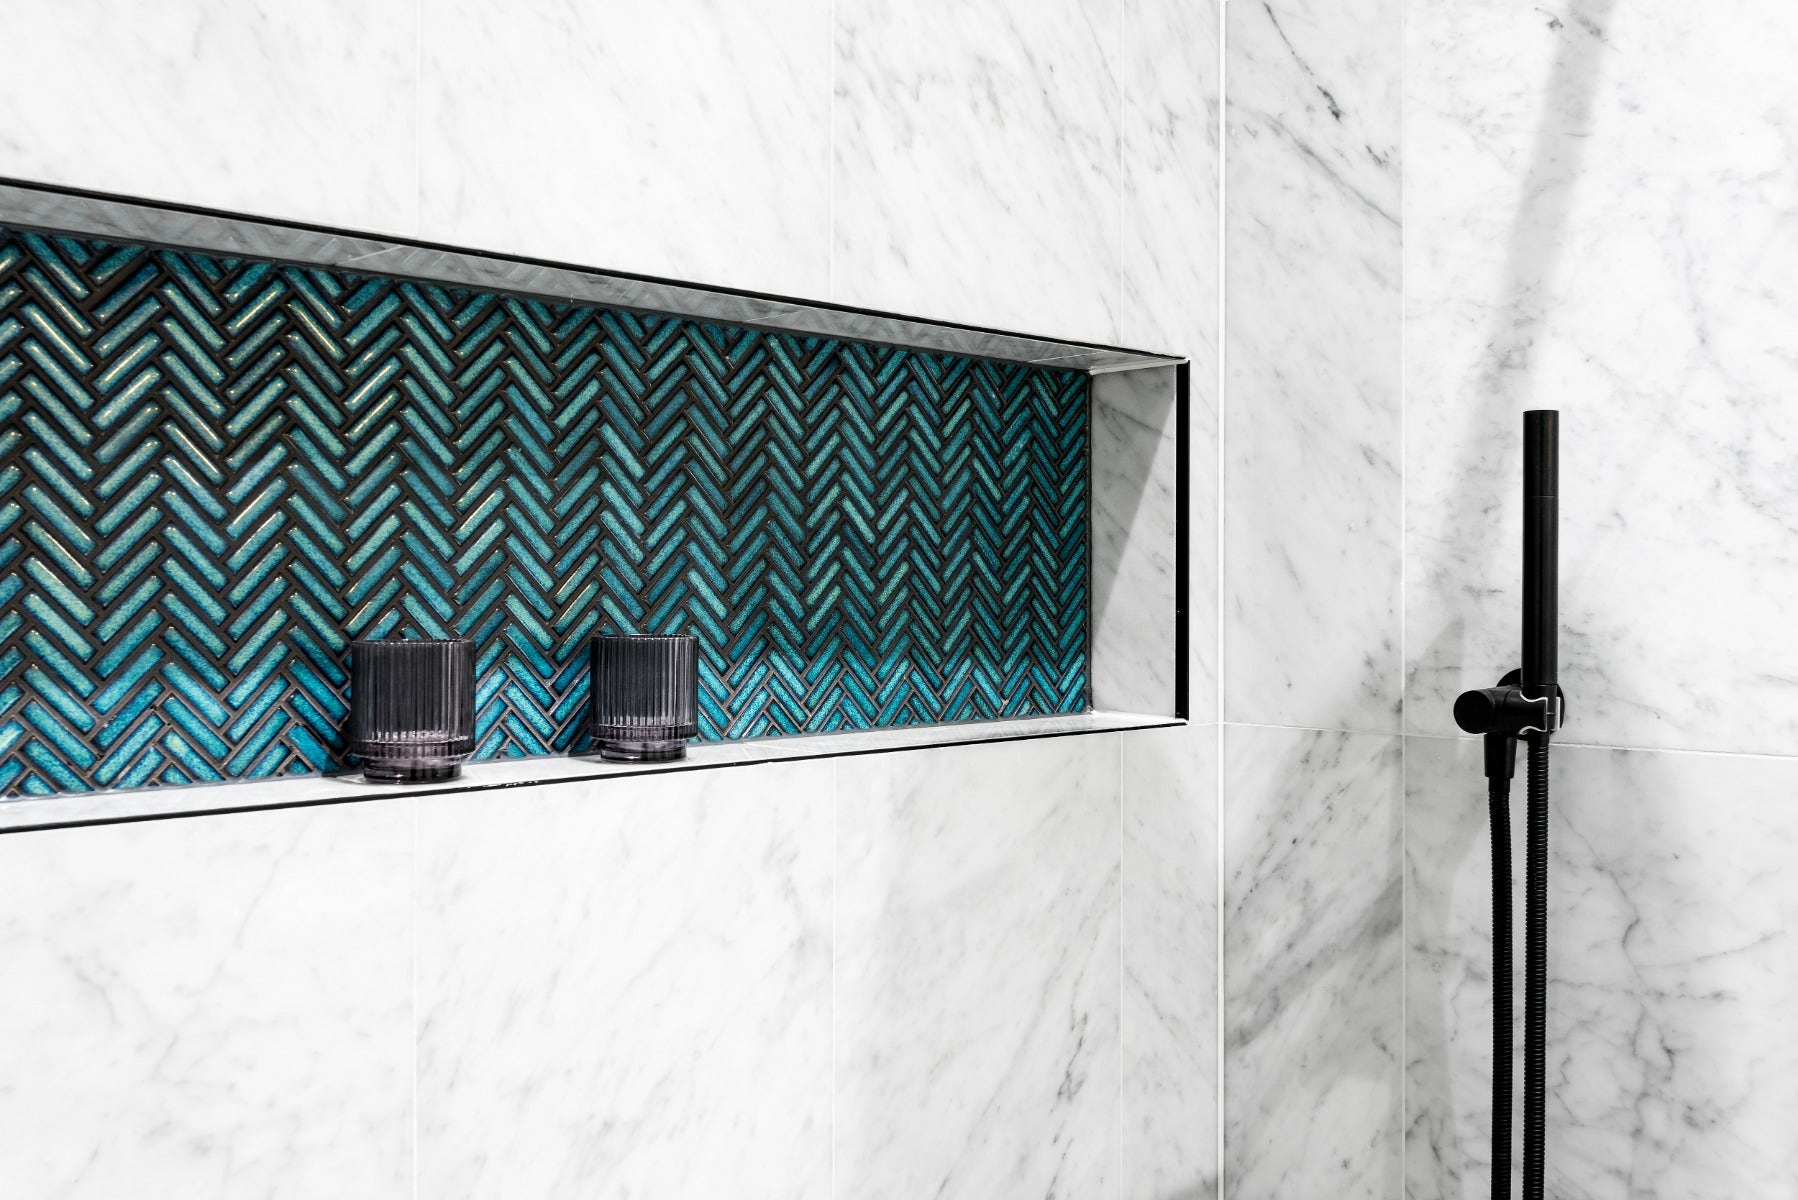
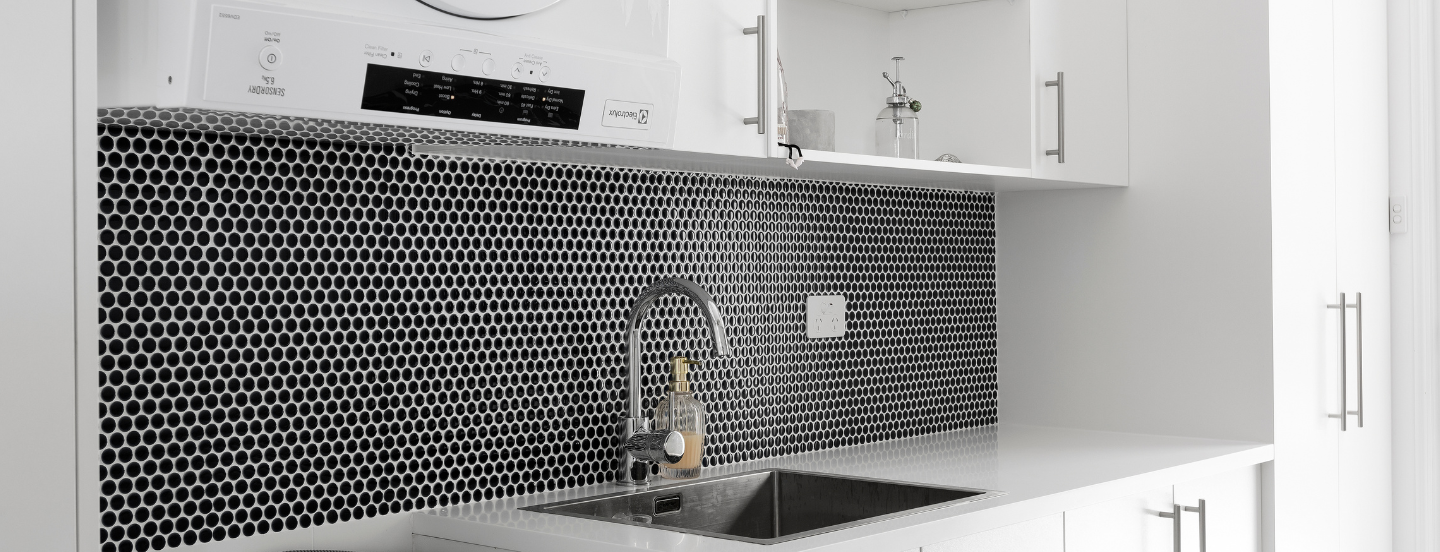
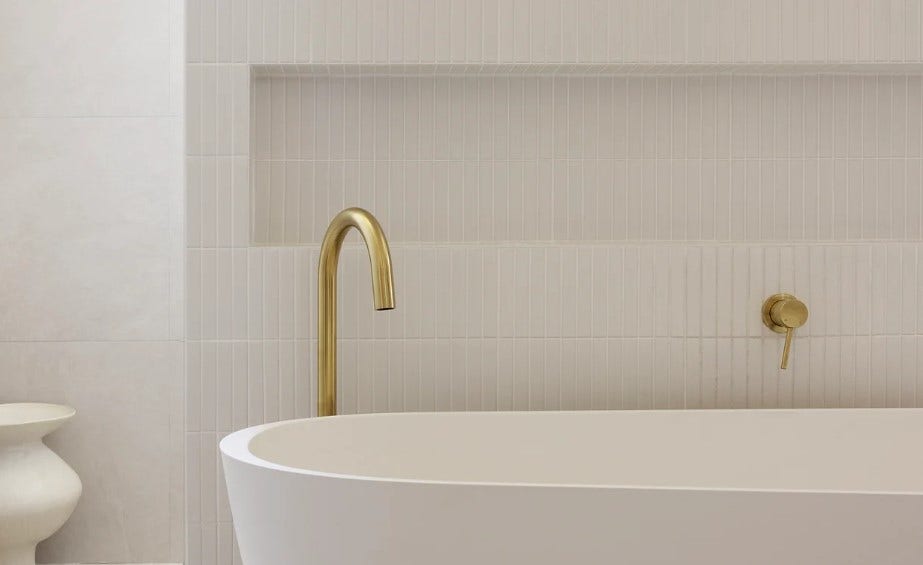
Mosaic tiles are the perfect way to upgrade your space. Picture a stunning kitchen backsplash, a luxurious bathroom wall, or a unique feature wall in your living room. The possibilities are endless!
Explore Amber’s stunning range of mosaic tiles, designed to suit every style and budget.
Want to see them up close? Visit us today and discover the perfect tiles for your home!