Articles,
DIY Advice
Ceramic Tiles Handout
07.01.20
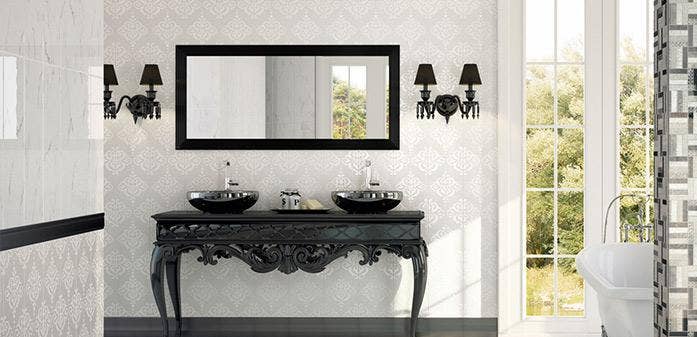
WHY CHOOSE CERAMIC TILES
There are many great reasons to choose ceramic tiles when building or renovating. More than most other surface covering materials, tiles keep looking good for a lot longer thanks to their resilient nature! Being hard and strong and having low porosity (especially glazed products) means that tiles resist scratching and withstand the wear and tear of everyday traffic better than most other materials. They are also hygienic/non-allergenic and generally easy to clean and maintain. Not to mention other benefits like having high stain resistance, don't fade and are fire and static resistant!
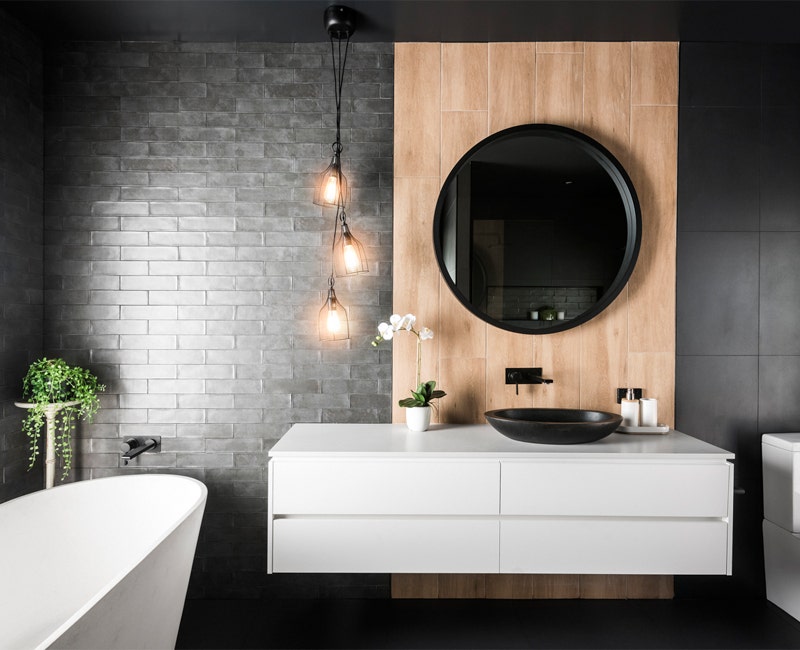
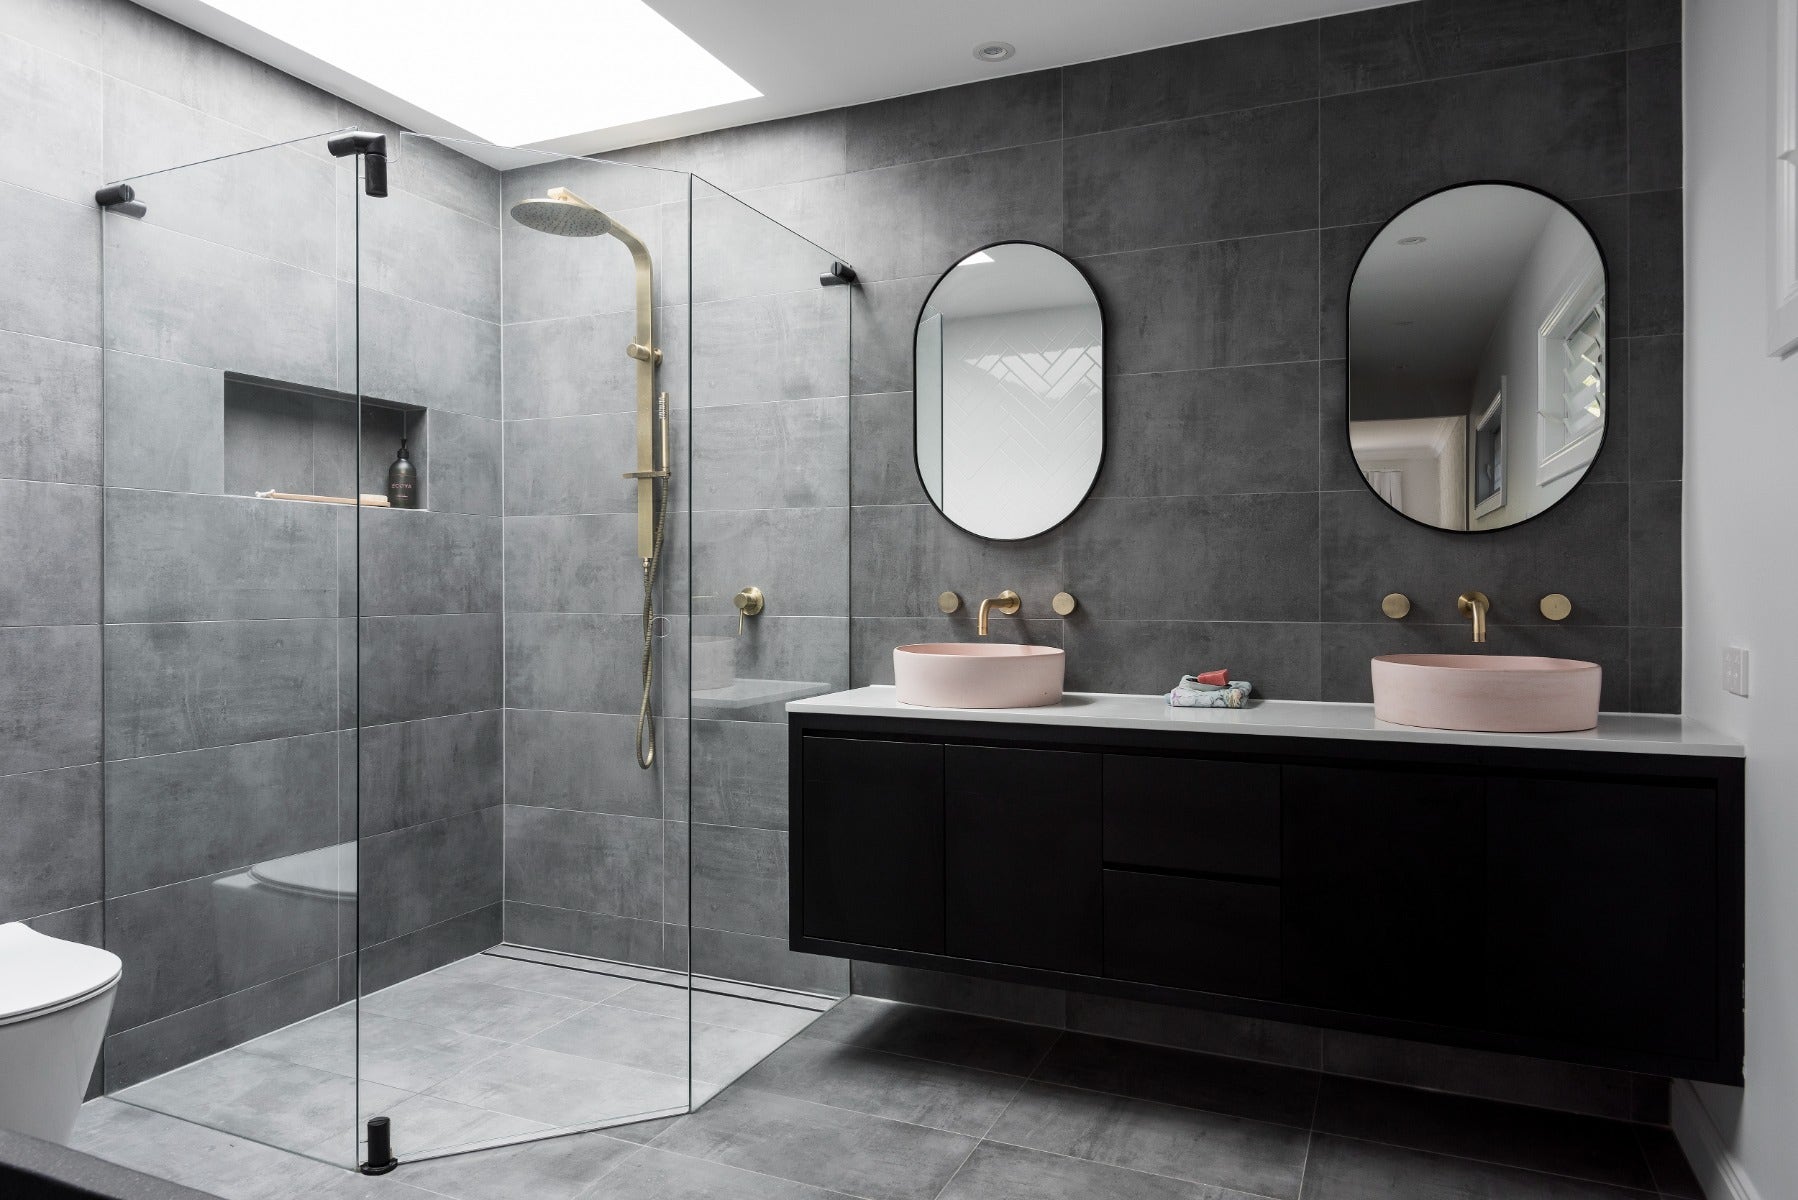
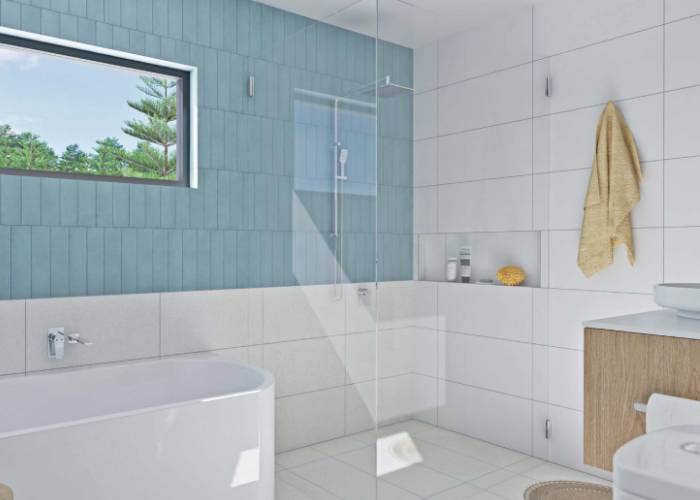
TYPES OF TILES AND FACTORS TO CONSIDER WHEN CHOOSING A TILE
Amber offers a wide range of tiles suitable for floor or wall use, both indoors and outdoors. Our friendly sales consultants can assist you identify the most suitable products for your specific needs. Some commonly used terms you may hear used are -
Porcelain - this term is used to refer to ceramic tiles that are made from finer clays, have added ingredients to give added strength, are pressed under greater pressure and fired at higher temperatures. Consequently they tend to be stronger, more resilient products than traditional wall tiles or glazed ceramic floor tiles. Porcelain tiles are sometimes also referred to as "vitrified" (because of their "glass like" nature). They may be glazed, unglazed or polished.
Full Bodied Porcelain - refers to unglazed porcelain tiles where the same material is used throughout the tile ie the colour runs the whole way through. These tiles have traditionally been used in heavy commercial and industrial environments where there is a higher risk of chipping. They are also a good choice where you will be seeing the profile eg bullnoses for stairs or pool coping.
Double Loaded (or "Double Charged") Porcelain - is a variation of the full bodied product where two layers of a porcelain tile have been fused together under pressure and heat to create a tile that has most of the technical qualities of a full bodied porcelain but at a reduced cost. The colour and pattern generally only goes to around a third of the thickness of the tile.
OTHER FACTORS TO CONSIDER
Slip resistance - There is no such thing as a slip resistant tile! There are many factors that contribute to a slip or fall including the overall building design, surface contamination, the age and state of mind of the person involved, were they running or walking etc. More textured tiles designed for outdoor use will often have a slip rating that can give you an idea of what their contribution is to the risk of a slip or fall. It is worth spending time with your Amber consultant looking at tiles with different levels of slip resistance to ensure you get the best product for your needs. We encourage you to take samples and place them in the type of situation in which they will be used, eg put water on them, walk on them and clean them (note that often there is a trade off between higher slip resistance and ease of cleaning).
Sealing - Glazed products generally do not require sealing and are consequently a popular choice for residential situations (especially bathrooms) as they are easy to clean and maintain. Some unglazed products have a surface treatment during the final stages of manufacturing which penetrates the surface pores and assists resist staining. However some products - especially polished porcelains where small "micropores" have been created during the polishing process - may require sealing to protect against staining.
Optical Hazing on Polished Porcelain Tiles - While they have a reflective surface, polished porcelain tiles do not have the characteristics of a mirror. When the surface of a polished porcelain tile is examined under a microscope, small micro facets are found that relate to the type and composition of the clay particles and the production process. Light that strikes these micro facets reflects in a diffused manner giving a "Halo" or "Smoky Haze" effect. This "Optical Hazing" is a natural phenomenon (commonly seen in honed and polished natural stones). It is not deemed to be a defect and can be minimized by careful design planning, such as the use of curtains and blinds, and the careful placement of furniture.
Rectified Tiles - Rectified tiles differ from "cushion edged" tiles in that after firing they go through another manufacturing stage where the edges are cut with a water or laser jet resulting in a clean right angle profile. This gives the tile a "slab like" minimal look and is often desired for aesthetic purposes. However, more time, effort and skill is required when laying rectified products to ensure the best end result (& consequently there may be higher installation costs).
STEPS YOU CAN TAKE TO ENSURE THE BEST END RESULT BEFORE INSTALLATION
Choosing a tiler - It is strongly recommended that you employ the skills of a licensed tiler to install your tiles. Tiles should be laid in accordance to Australian Building Code and the appropriate Australian Standards. Ensure that you and the installer have a written contract detailing the scope of the work. We recommend that you discuss your tile selection with your tiler so that they know what they will be laying and can have the appropriate tools and materials on hand. Discussing your expectations will also help avoid any misunderstandings.
Manufactured Tiles are not perfect! - While manufacturing allows for a lot more control and consistency in determining the final tile product than say, a piece of stone cut out of the ground, tiles still vary within a production run in colour, size and appearance. Variations in ingredients, temperatures both within the kiln and outside air temperatures etc all influence the end result. The factory sorts each product as it comes off the production line into similar "batches".
We want you to be happy with the end result of your tiling. Following is a checklist of some things you can do to ensure this -
Order more tiles than the area being tiled and check the correct quantity is delivered - your tiler should factor this in when working out quantities required and will often allow an additional 10-15% of the area being tiled. This covers wastage when cutting and allows you to hold a box or more of spare tiles to ensure that, in the event that the tiles suffer any damage down the track, you can replace them with the same shade. Every production run results in different shades and, even if you can still source the same tile down the track, it is most likely to be from a different shade which may be noticeably different.
Check boxes delivered all show the same shade/tone reference - while every care is taken to deliver tiles from the same batch, occasionally errors can happen. Laying constitutes acceptance of the product so it is important to identify any issues prior to laying.
Check you are happy with the Colour, Size and Quality of the products delivered - under international manufacturing standards, variations are allowed in terms of sizing, surface imperfections, curvature etc. However it is important that you are happy with the end result so we urge you and your tiler to check 2-3 boxes prior to laying as laying constitutes acceptance of the product.
Check there has not been excessive breakage in transport - while we take every care in handling your tiles, in most cases our tiles come from overseas and due to the number of times they are handled it is possible that some boxes may arrived damaged. In most cases this will not cause an issue as the tiler can use chipped tiles to do cuts, however checking before the tiler arrives allows time to address any issues.
DURING INSTALLATION
Ensure the tiler mixes tiles from 3 or 4 different boxes to ensure proper blending of any colour variation that may exist. Take time to periodically check that no defective tiles are being laid and that the tiler is following your instructions. If you have any doubts or concerns as the job progresses, stop the tiling and contact your Amber store immediately.
AFTER INSTALLATION
Ensure the tiler removes all waxes, grout and grout residue after tiling. These are sometimes hard to see with the naked eye but will act to collect dirt if left and the longer they are left the harder they will be to remove. If tiles are being sealed it is especially important that the tiles are thoroughly cleaned first, otherwise any contaminants will get trapped below the sealed surface of the tile.
As previously mentioned, tiles will exhibit minor marks and blemishes. These are generally considered to be a characteristic of the tile and not a defect. Under normal lighting conditions these marks may not be noticeable. However they may become obvious when highlighted by some forms of oblique lighting eg halogen lights. All tiled surfaces should be viewed from a distance of 1.5m under "non critical" light (where the light that strikes the surface is diffused and is not glancing or parallel to the surface). Make sure your expectations have been met by inspecting the finished job while the tiler is still on site.
Tools and building equipment, dirt and contaminating liquids can scratch and stain your brand new tiled floor so it is especially important that care is taken to cover and protect your tiles while other trades are working in the area.
CARE AND MAINTENANCE
Do not use abrasive cleaners or scourers or chemicals which could permanently scratch and damage the surface of your tiles. For ongoing care, the following cleaning regime is recommended -
Sweep or vacuum the floor of loose dirt
Use a cleaner designed for use on tiles and follow the manufacturer's instructions
Remove the cleaning solution from the floor using a clean mop
Rinse with clean water
Remove water from the floor
Buff with a dry towel or mop
Amber recommends products be installed by a professional tradesperson. These instructions are to be used only as guides. Amber does not accept responsibility for any incorrect installation results or improper preparation. For individual advice speak to your local Amber store.