Articles,
DIY Advice
How to Lay Pavers on Dirt, Sand + More (Step by Step Guide)
16.09.21

Incorporating a patio into your backyard is a great way to seamlessly extend your living area into your backyard, opening the space up for recreation, relaxation and entertainment. Australia’s enviable climate makes patios an obvious choice for sprucing up an exterior space. Patios comprised of pavers offer a quick-drying, non-slip surface that are the perfect base for outdoor furniture and can even deter pests. Whether it be a poolside patio, an outdoor kitchen and bar space, or even just a relaxation nook, there is a patio and accompanying pavers to suit your needs and style.
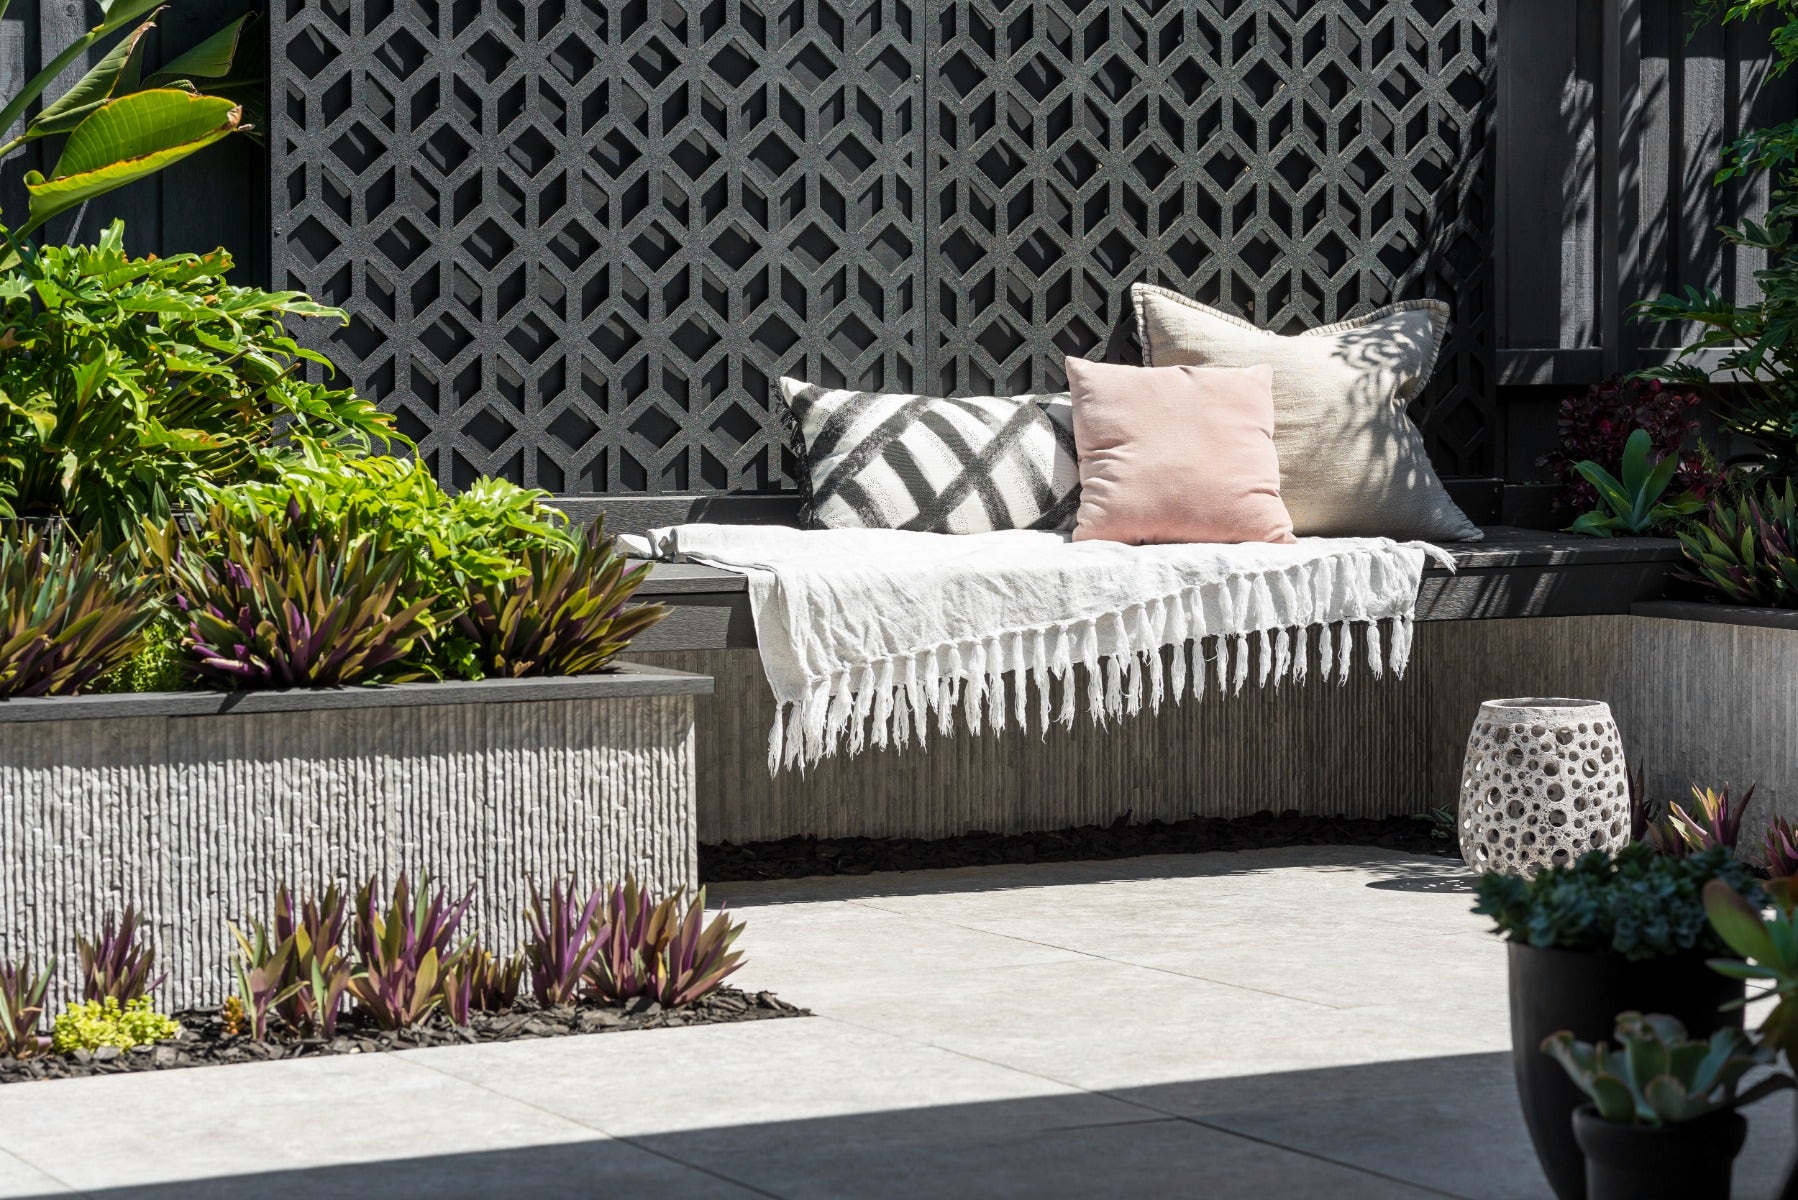
If you’re looking for inspiration to create your own beautiful patio, Amber has a range of paver styles ranging from terracotta, to charcoal, to crisp whites, to suit all design styles and functions.

How to lay pavers (in 7 simple steps)
How to Lay Pavers (in 7 Simple Steps)
Laying pavers is quite a simple task, however, there are a few key steps to keep in mind that will ensure your design not only looks fantastic but is long-lasting too. Whilst it is technically possible to lay pavers on bare, unprepared ground, this practice is not recommended as the ground will shift over time, causing the pavers to develop a sunken look, or even crack. If you’re looking to learn how to lay pavers on uneven ground, or how to lay pavers on sand for example, then we are here to help! This guide will help you to create a beautifully laid patio that stays put for many years to come.
Ultimately, it is recommended to have pavers professionally fitted and installed. Paving contractors undergo years of training and experience to become skilled in their profession, so we can trust their knowledge and expertise. Hiring a professional contractor will ensure the design and production process is seamless, and they will take care of the not-so-fun parts like measurements, equipment, and preparing the ground for laying pavers. Plus, certified professionals are equipped to meet deadlines and make your design ideas come to life as quickly as possible.
Tools you will need:
- Pavers
- Tape measure
- Shovel
- Rake (with metal prongs)
- Plate compactor
- Wheelbarrow
- Bedding sand
- Base layer (road base)
- Paver cutting equipment
- Spirit level
- Mortar
- Rubber mallet
- Drill
- Grub hoe
- Paving sealer
- Cleaning liquid
- Paver cleaning brush
1. Prepare the Patio Area
Before commencing your paving journey, it is important to ensure your chosen area has been measured correctly in alignment with the quantity and size of your chosen pavers. This way, no unforeseen measurement issue will occur. Outline the area using paint or string to help visualise the area you will lay your pavers.
2. Clear Out Grass and Soil
Grab your grub hoe, and make short downward swings, chopping through the root layer of the grass. Use just enough force to remove the grass from the soil layer, without delving too deep into the soil. Now using a regular shovel, begin to excavate the soil underneath. The amount to remove is entirely dependent on the area you are paving; a patio or walkway is usually around 7 inches deep.
3. Add Paver Base and Level with Sand
Now your area is correctly prepared and from here, you can level your space using a rake and spirit level for accuracy. Then, use a wheelbarrow to deliver your base to the site, which is traditionally just a compacted gravel material also known as road base. Use the rake to spread this material evenly throughout your paving space. Wet the base and use the plate compactor to compact the base layer, ensuring it is flat and ready for paving. Then, spread your bedding sand (a washed concrete sand) evenly at a depth of around 3cm above the paver base.
4. Consider Edging Stones or Paver Edging
Paver edging, also known as paver restraints, is a great way to define your paving area and to keep the pavers in place. Great paving edging will add detail yet still blend in with the garden to ensure a cohesive look. Another great option is to install edging stones, which act like borders to your paved patio. They are often smaller and run alongside your pavers and define the patio from other elements of your garden. Edging is certainly optional for your patio or pathway design, but may be beneficial in accentuating your design, ensuring the longevity of your design.
5. Place the Paver Stones
If you are laying your pavers in a straight line, use string from one edge of your outline to another to ensure accuracy when placing your pavers. Spread about 30mm of mortar where you will lay the first pavers, then place the first paver. Use a rubber mallet to knock the paver into place. Use the spirit level (length, width, and diagonally) to accurately ensure the paver is level. If the paver is not yet level, you can continue to adjust using the rubber mallet. Continually wipe the pavers to remove any mortar that may dry to your pavers throughout this process. Continue to lay the rest of your pavers in a similar manner, ensuring a 5mm gap between each paver. Your paver design (stretcher bond, grid, basketweave, etc.) will determine how you begin the next row. A common choice is stretcher bond, where the pavers have a slightly staggered look (see image below). If you want to take this approach, you’ll need to mark out the middle of the paver. Then place this paver with the marking adjacent to the 5mm gap of the pavers in the other row.
Continue this process.

6. Cut Pavers
If you have chosen a stretcher bond pattern for your pavers, you will need to cut your pavers to the right size in order to fit your allocated space. To do this, measure the distance between the end paver and the edge of your outlined space. Mark these measurements onto your pavers. You can then cut your pavers to the correct size, according to the markings you made, using an angle grinder with a diamond blade (using clamps to hold your paver in place and for your own personal safety). Continue this process until you have completely laid all your pavers. Don’t walk on them for at least 24 hours as they dry.
7. Seal Pavers
Before sealing your pavers, you will need to ensure all debris and stains are removed so that the finished result is seamless. You can simply sweep and use a high-pressure washer to do so. You can use a sand seal or a chemical seal to complete your design. Sand seals are when polymeric sand is simply swept over the freshly paved patio, while a chemical seal has more of a process. There are a few different chemical sealers you can choose from, but it really depends on the style you are going for; natural/matte finish, semi-gloss, colour-boost matte finish or wet-look gloss. Choose which one you think best suits your space, and then begin the sealing process. We recommend using Amberseal, which provides a natural-looking finish with high stain resistance and life-long benefits. To use the sealer, first ensure the pavers are completely dry. Pour the sealer into a paint tray and use a paintbrush to apply the sealer to the edges of your pavers. Apply the rest of the sealer using a roller brush all over the pavers. Repeat this if you think your pavers need a second coat.
How to lay pavers on different surfaces
Above we have outlined 7 simple steps for paving a patio, but there may be other situations or areas that you would like to incorporate paving. This could be through paving stepping stones, paving on a slope, on concrete, and so on. Below we will be explaining ways to approach paving within these different scenarios.
How To Lay Pavers On Dirt
Lots of questions come up regarding how to lay pavers on dirt, however, it is not recommended to lay pavers directly on dirt or any unprepared ground. In order for pavers to look and perform their best in a permanent situation, the ground needs to be levelled, excavated and hard compacted. It is suggested that you follow the above steps if your desired space for a patio is dirt based.

How To Lay Pavers On Concrete
If you already have a concrete slab you wish to convert into a paved patio, then you have a great solid base to work off. Perhaps you want to change from concrete patio to a limestone finish similar to Amber’s Limestone Marseille Sandblasted and Tumbled Paver, or even a terracotta style, like Amber’s Quadro Terracotta Body Paver, all of which are possible by following the below steps. The only time you won’t be able to pave a concrete slab is if the door threshold isn’t high enough for the pavers you want to install. However, if this isn’t the case you can go ahead and start the paving process. There are a few ways to lay pavers on existing concrete, with sand set and mortar set paving being the most common. Below is the process for how to lay pavers on concrete, mortar set adhesion method:
- Ensure the concrete is completely clean, so scrub or use a high-pressure washer
- Place 0.5 inches of mortar underneath each paver to ensure adhesion to the concrete (ensure the mortar stays wet by working section by section)
- Use the same mortar in between joints of each paver
- Do not walk on the new patio for around 24 hours, to ensure it is completely dry and no movement occurs
Brush or wipe off any remaining mortar from the patio
How To Lay Pavers On Uneven Ground
In terms of how to lay pavers on uneven ground, you will need to address the unevenness and create a flat base. Pavers need to be placed on level ground in order to perform and look their best and to ensure no movement occurs. In any case, regardless of your backyard, you will need to level your chosen area prior to laying pavers. This is why the process of levelling using bedding sand, road base and a spirit level is essential for all pavers.
- If you are laying pavers on a slope (such as a driveway or walkway), you can still level the ground so it is all sitting at an even slope, depending on how steep the area is.
- If the area is too steep, you can implement retaining walls that break up the slope. This is best done with the help of a professional.
How To Lay Pavers On Sand
Sand is already a material used to prepare the ground for laying pavers, however there are other steps involved to ensure pavers don’t move around. Therefore, it isn’t possible to simply lay pavers directly onto sand. The ground must be excavated and levelled using road base, as well as bedding sand. The process above can be followed to lay pavers on sand.
How To Lay Pavers With Grass In Between
The process for how to lay pavers with grass in between is similar to laying pavers for a simple patio. Amber has a lovely selection of pavers you can use to create this effect, particularly the White Haven Sandstone Crazy Pave (30mm calibrated). The process is as follows:
- Dig up the area you would like the pavers to sit (around 6-7 inches), do not throw out this soil
- Fill in the excavated area with road base (gravel mix) and use a plate contractor to flatten this surface
- Position the pavers 2-3 inches apart (or to the length you would like the grass to grow)
- Layer the soil you initially dug out between each of the pavers
- Use fertiliser on top of the soil to encourage grass growth
- Plant seeds for your preferred grass in the gaps between pavers
How To Lay Pavers Without Base
Are you searching for how to lay pavers without a base? Unfortunately, there isn’t a way to lay pavers without excavating the ground and preparing it with road base and bedding sand. Without this process the pavers would move around, become sunken in and even crack. Not only would this be very visually unappealing, it would be a safety hazard for the area. So, if you are unsure how to attempt paving your own patio, we recommend speaking to a professional who can assist you with the process.
Summary
A paved patio is a beautiful and functional feature that adds value to your home. If you’re looking to extend your indoor living area or create a seamless flow between your indoor and outdoor spaces, a patio is a great solution. There are a range of paving styles you can incorporate to ensure your design aligns with the interior style of your home. For those with a small backyard or courtyard, paving can help to optimise your space, and improve functionality. Ultimately, patios help to establish a new entertainment area within the home, creating new purposes for your backyard. Take advantage of Australia’s beautiful climate and incorporate a paved patio into your garden.
This guide has outlined a general overview of the process undertaken paving an outdoor space. It is, of course, possible to DIY your patio, but it is recommended to employ a professional to help you achieve the best outcome for your garden.
If you have any questions regarding how to lay pavers or design ideas for your patio, please do not hesitate to get in contact with our team of design experts here at Amber.
Amber has the answer.